Note - this article is part of a series:
- Deploying a Proxmox VE 8 Cluster on Dedicated Servers (1/4)
- Deploying a Proxmox VE 8 Cluster on Dedicated Servers (2/4)
- Deploying a Proxmox VE 8 Cluster on Dedicated Servers (3/4)
- Special Edition - SDN in VXLAN Mode with Machines on the Internet
- And at least one more to come
Picking Up Where We Left Off: First Steps in the UI
In the previous tutorial (which I invite you to read, if you haven’t already, otherwise this won’t be clear), we configured storage, networking, and deployed our first virtual machine to make sure everything works. But there’s still quite a bit to explore, including clustering, the Proxmox VE SDN, the built-in firewall, backups, monitoring…
So we’re picking up where we left off, and we’re going to install another server (hard to make a cluster with a single machine).
This server was reinstalled with the same procedures as the server I’m talking about in parts 1 and 2, except that we don’t need to create the bridge (vmbr0) because we’re going to use the SDN!!
Ideally, all machines in the cluster should have the same storage pools since I remind you, this configuration is supposed to be common to all servers, as it’s managed at the “Datacenter” level of our cluster (even if you can configure exceptions).
Creating the Cluster
Clustering Proxmox VE machines is a topic I’ve covered extensively on the blog, to the point that some of you know me mainly for these articles ;-):
- A Proxmox VE Cluster in 5 Minutes with Ansible
- Proxmox VE Cluster, v6 this time!
- A Proxmox VE Cluster with Only 2 Machines!
- [Tutorial] Properly Dismantling a Proxmox VE Cluster
So I won’t spend too much time on it. Just know that:
- it’s easier to do since version 6 because there’s no longer a need to set up a VPN between servers (corosync v3)
- it can be done from the command line
- in any case, you need to log in as root with password when clustering
Very briefly then, we go to the first server, in the Server View at the top left, we select our Datacenter, then in the Cluster menu.
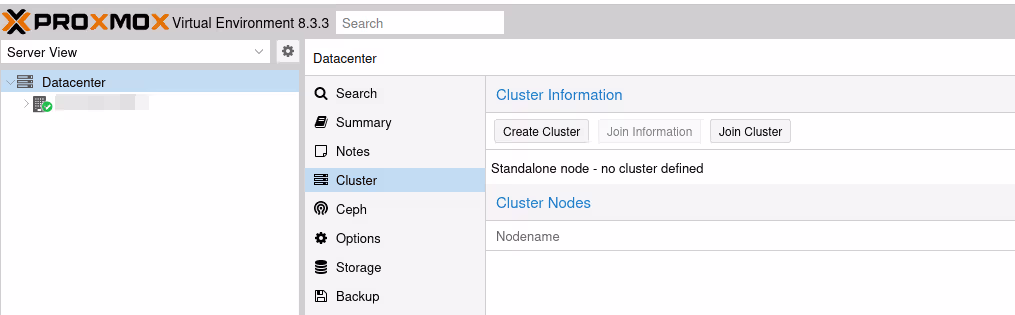
Click on the Create Cluster button.
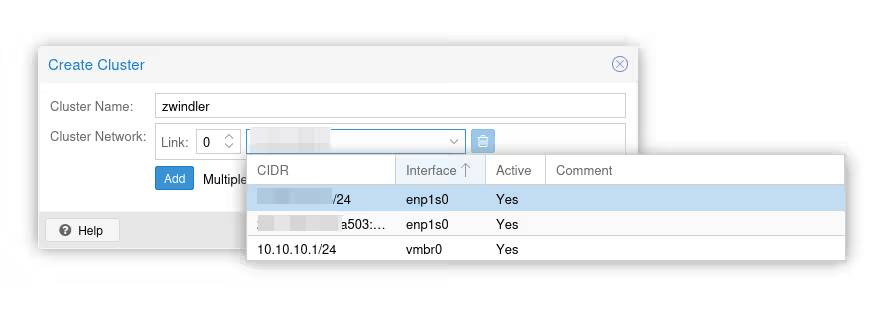
Note: here, it’s simple, I only have one network card, so there’s no doubt about which interface to use. However, in the case of a server with more interfaces and more bridges (or VPNs as we had to do until PVE 6), you need to choose carefully which interface is used for clustering.
We validate the form:
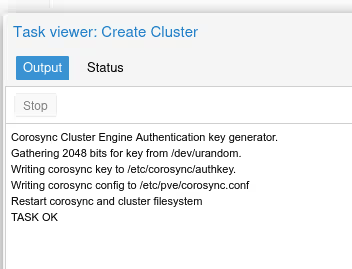
From this point on, the server is no longer in “standalone” mode and has additional systemd services.
We notably have a /etc/pve folder that is synchronized between all nodes (the famous Proxmox Cluster File System) with the configuration of each node and the configuration files of virtual machines. We also have the corosync software, which will regularly contact all cluster nodes to ensure everyone is alive/reachable.
Joining the Cluster
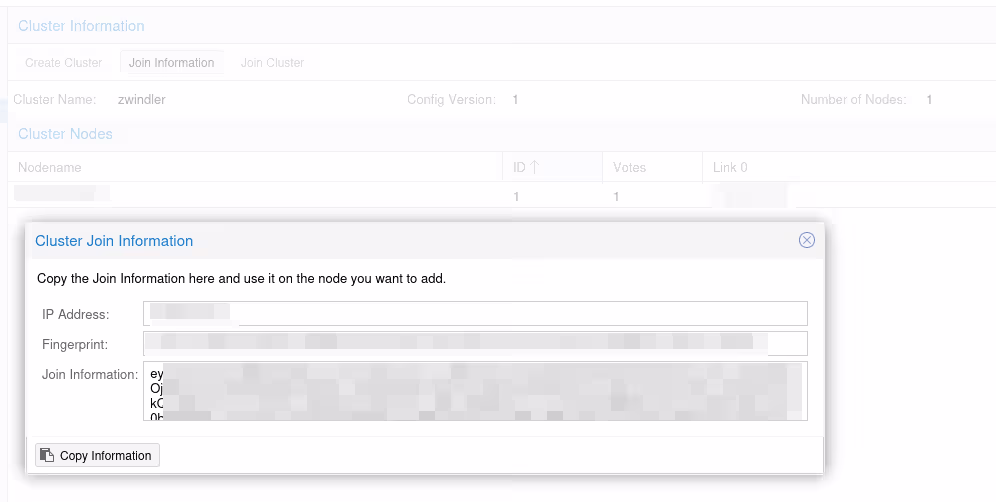
If we go back to the “Cluster” menu, we now have information displayed about our cluster, namely its number of nodes (here just one, normal). Click on the Join information button.
A popup opens with several pieces of information to copy-paste that will be requested in the menu of the other server, the one that will join the cluster:
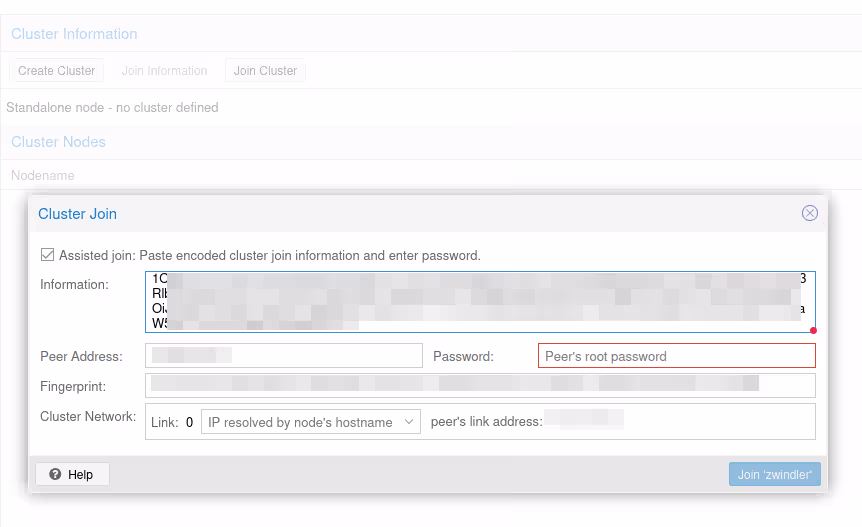
So we connect to the graphical interface of our second Proxmox VE server (my Atom in the example), we go to the same menu, but instead of creating a new cluster, we click on the Join Cluster button:
Normally a little scare, once the node joins the cluster, you’ll lose control of the web interface and get a “401” error message. This is “normal”, when the server enters the cluster, services are restarted and we switch from standalone mode to clustered mode…
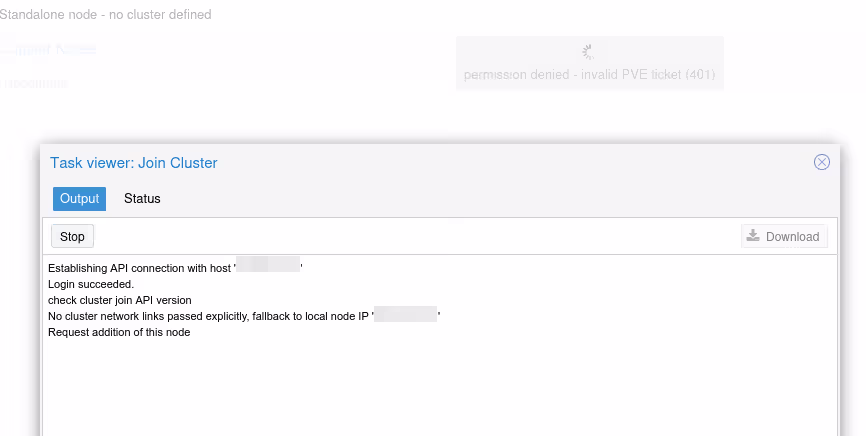
Don’t panic, an F5 should fix the issue (or connect to the “first” server of the cluster).
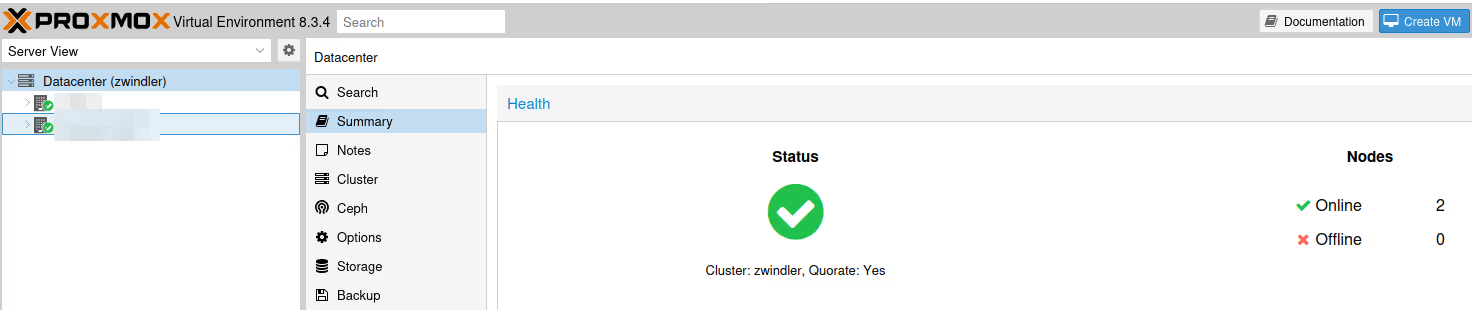
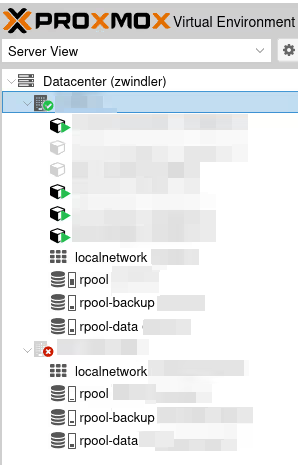
We now have a nice cluster :)
Split Brain
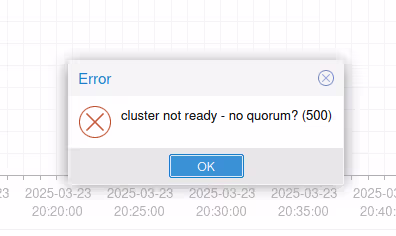
Note however that in my example, we only have 2 nodes, which is more than discouraged when making a Linux cluster (actually, a cluster in general). If the network link ever goes down between our two machines, they’ll have no way of knowing if it’s a network problem (also known as split brain) or a node failure.
To avoid breaking everything by restarting VMs on both sides (the most catastrophic case in a split brain), when quorum is no longer reached, Proxmox VE puts nodes without a majority in (almost) “read-only” mode.
And in case it’s not clear, quorum is half the nodes +1, so here: 2/2+1 = 2… so as soon as we lose one of the two nodes, we lose quorum.
So if we ever cut a node or the communication between the two, your still active VMs will continue to work (I debated this on LinkedIn a few days ago).
However, it will be impossible to modify the cluster configuration, start or create VMs, etc.
The only thing we can possibly do that isn’t “read only” is stop VMs, because that doesn’t induce any risk for data consistency. But you won’t be able to turn them back on, you’ve been warned…
For the record, the LinkedIn debate was “does ProxmoxVE cut all VMs in case of split brain” and the answer is obviously no. However, most actions are indeed blocked.
In any case, to avoid this, the best thing is to have an odd number of nodes so that split brain can never happen, or possibly add a complementary vote using an instance serving only as an arbiter as explained in my old 2019 article or in the official documentation:
SDN Configuration
OK, cool, we have a two-machine cluster. But in the current configuration, the VM we created in the previous part can’t easily migrate from one server to another. Indeed, we attached it to a Linux bridge (vmbr0) that has its own network addressing plan.
In case of migration, we would potentially need to start the machine, change the IP address, review iptables/firewall rules. That’s what I was doing until now, and in the case of a DR plan for a lab infra and a personal blog, it’s “OK”.
A big new feature in version 8.1 is the activation of an “SDN” (Software Defined Network) module that has been in testing by developers and some early adopters since version 6.X, which will allow us to manage this centrally from the interface. If you want to read the official documentation, it’s here:
The only prerequisite we’re missing is dnsmasq for DHCP, and the documentation tells us to run the following commands on our machines:
apt update
apt install dnsmasq
# disable default instance
systemctl disable --now dnsmasq
And in the /etc/network/interfaces file, it’s also necessary to add at the end of the file the line (followed by a small systemctl restart networking)
source /etc/network/interfaces.d/*
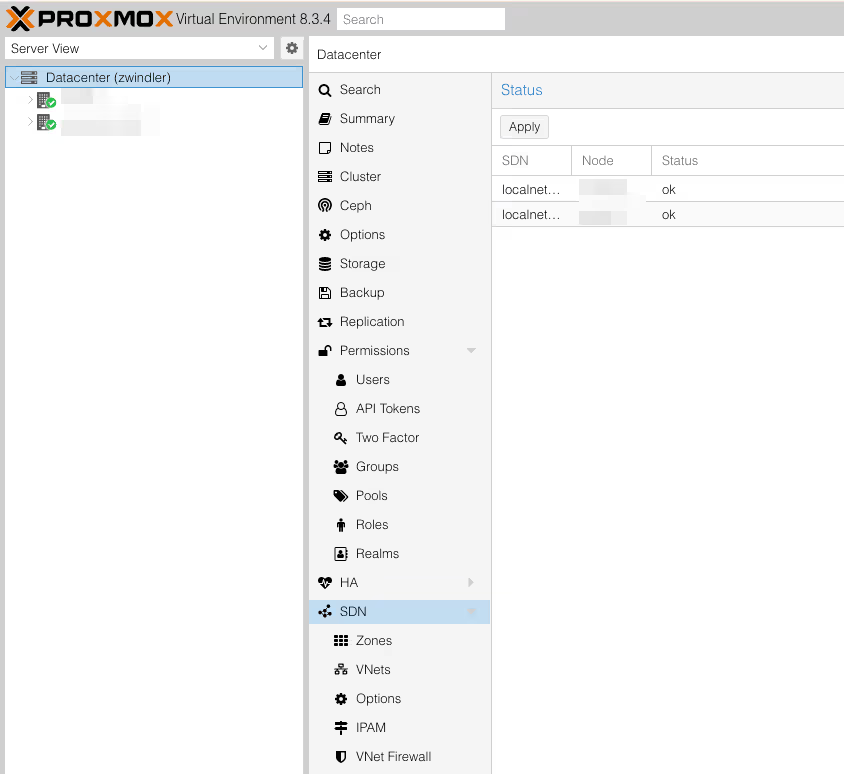
In the Datacenter menu, open the SDN submenu. Note that SDNs are already declared, but these are actually the default networks we declared in previous articles:
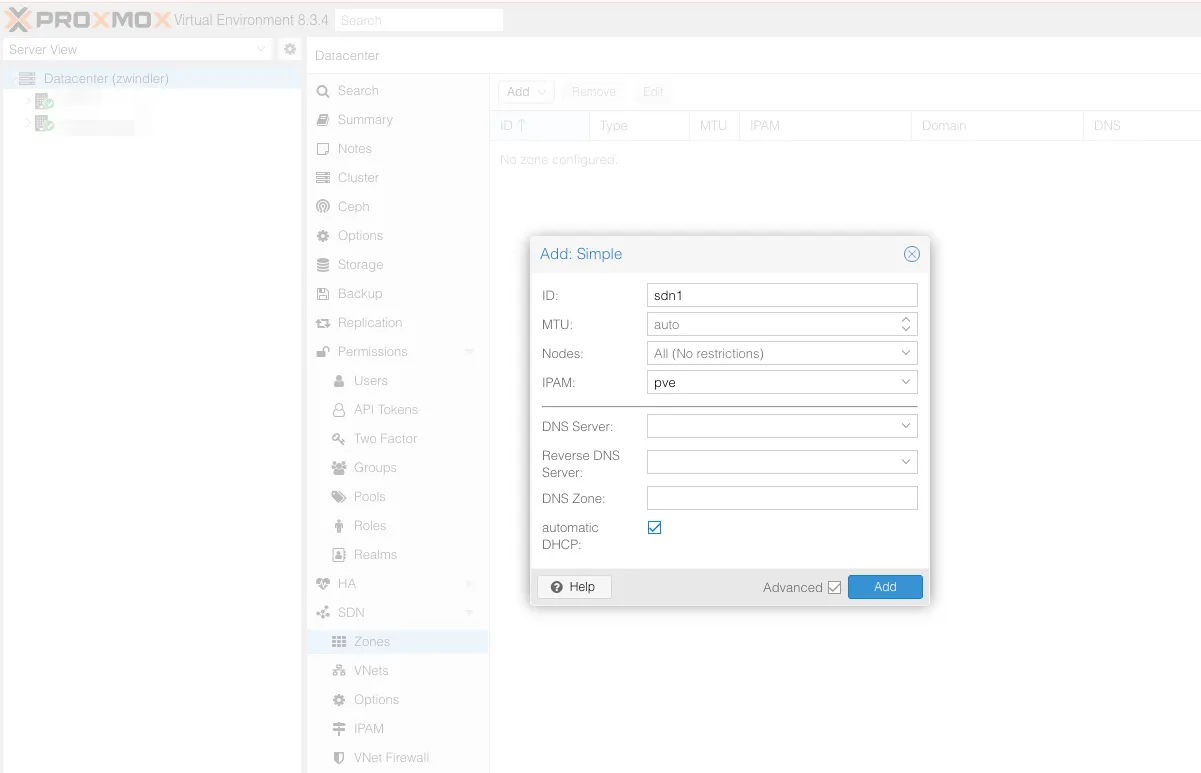
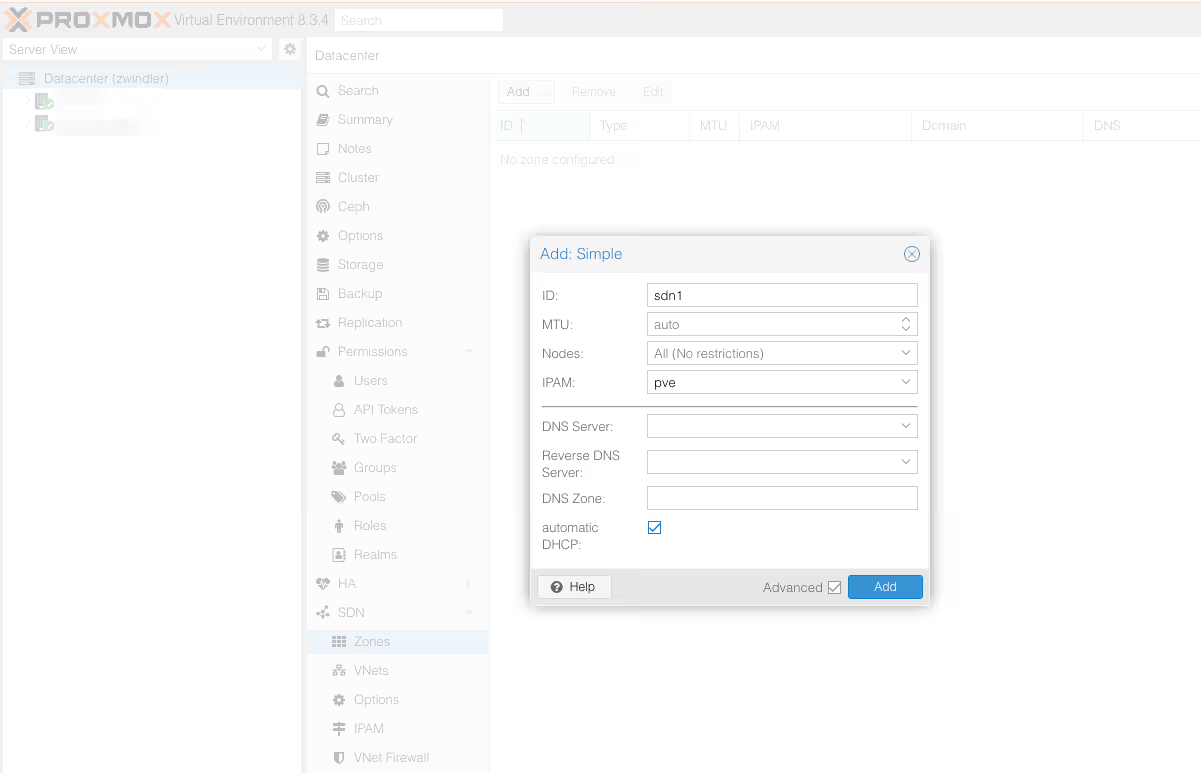
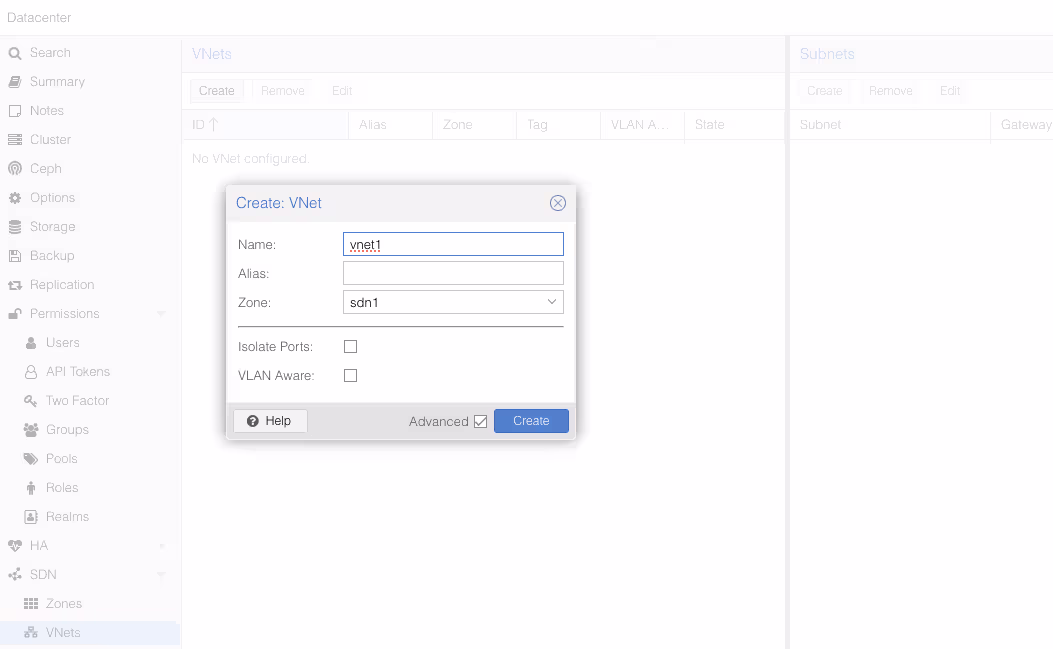
In the SDN/Zones menu, add a “Simple” type zone. There are more complex zones that will be useful in production contexts with non-trivial LANs (VLAN, VXLan) but in our case, Simple is sufficient.
Note: don’t forget to check the advanced box to enable DHCP. YES we’re finally going to have DHCP for our virtual machines and containers.
Once you’ve validated, go to the SDN/VNets submenu, click the “Create” button to create a virtual network, then select it once created to create a subnet.
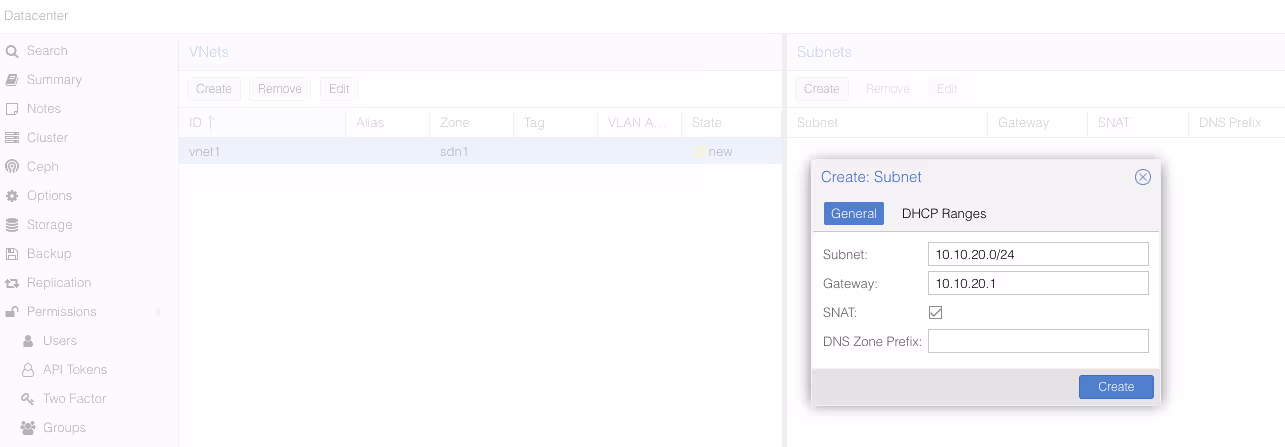
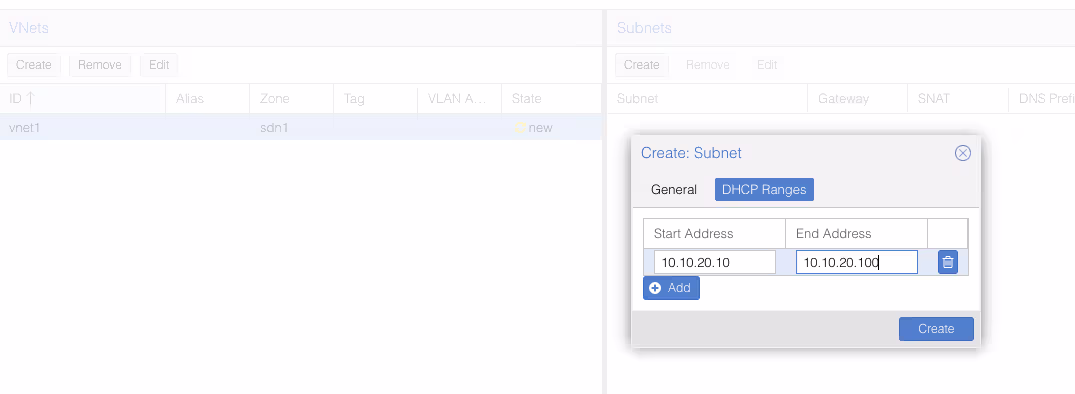
Once again, don’t forget to check the DHCP section, to declare the range for our future DHCP.
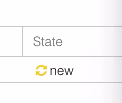
Once we’ve validated everything, we see that next to all these new things we’ve just created, there’s an icon with two yellow arrows and a “New” status.
To deploy these changes, we need to go back to the SDN menu from the beginning, and click Apply. Two “sdn1” lines (one for each server, actually) should appear.

Fun fact, the Proxmox VE SDN will add iptables rules that should look familiar if you’ve followed the previous articles:
#version:5

auto vnet1
iface vnet1
        address 10.10.20.1/24
        post-up iptables -t nat -A POSTROUTING -s '10.10.20.0/24' -o vmbr0 -j SNAT --to-source 203.0.113.1
        post-down iptables -t nat -D POSTROUTING -s '10.10.20.0/24' -o vmbr0 -j SNAT --to-source 203.0.113.1
        post-up iptables -t raw -I PREROUTING -i fwbr+ -j CT --zone 1
        post-down iptables -t raw -D PREROUTING -i fwbr+ -j CT --zone 1
        bridge_ports none
        bridge_stp off
        bridge_fd 0
        ip-forward on
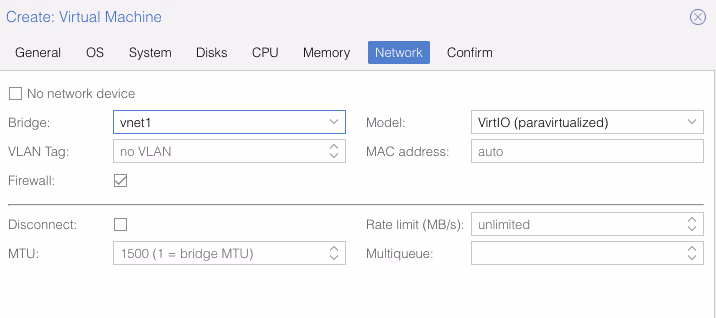
And if now, I recreate another virtual machine, but this time instead of vmbr0, I choose vnet1, I don’t need to enter the IP address (since I have the SDN serving DHCP) and it has Internet access without additional configuration.

With this configuration however (SDN in Simple Zone mode), it still won’t be possible to have virtual machines communicate with each other. That will be possible with more complex configurations:
You can, for example, create a VXLAN overlay network on top of public internet, appearing to the VMs as if they share the same local Layer 2 network
Note: I’ve explored VXLANs since then, and I wrote a complementary article here.
Conclusion
I still haven’t finished this series, because I still have things to say about SDN replication and Proxmox VE firewalling, backups, monitoring, but once again, I’m already exceeding 12,000 characters. So it’s time to publish the article and start writing the next one.
And in the meantime, have fun :)