Introduction, What Is a Cluster HAT?
What have you found for us this time???
You’ve seen me play with Raspberry Pis and install Kubernetes on them, or just simply Alpine Linux.
So what on earth (yes, “on earth,” let’s not mince words) are we talking about today???
While searching the depths of the Internet to see if it was possible to install a Kubernetes cluster on Raspberry Pi Zeros, I came across 3 different people who had failed at this task:
- Setting up a Kubernetes cluster using Raspberry Pi Zero 2 W’s and the associated reddit post with a photo (important for the rest of the article)
- github.com/abelperezok/kubernetes-raspberry-pi-cluster-hat
- A tiny cluster based on 4x Raspberry Pi Zero 2 W
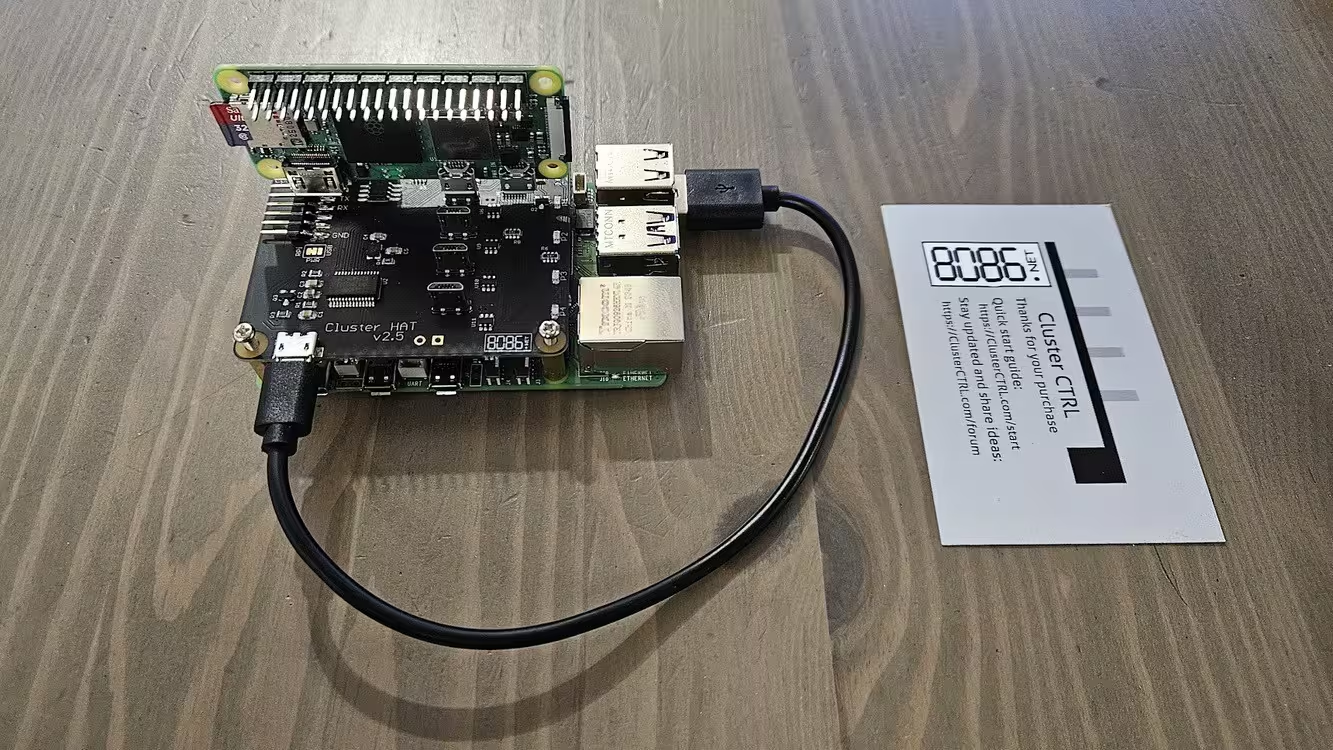
In all 3 cases, people tried to install a cluster of RPi zeros, mounted on some kind of additional board I didn’t know existed: the Cluster HAT
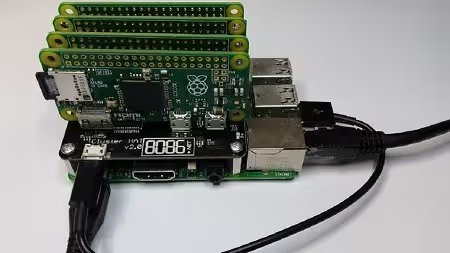
The Cluster HAT (Hardware Attached on Top) which interfaces a (Controller) Raspberry Pi A+/B+/2/3 with 4 Raspberry Pi Zeros configured to use USB Gadget mode is an ideal tool for teaching, testing or simulating small scale clusters.
The Cluster HAT can be used with any mix of Pi Zero 1.2, Pi Zero 1.3 and Pi Zero W.
- USB Gadget Mode: Ethernet and Serial Console.
- Onboard 4 port USB 2.0 hub.
- Raspberry Pi Zeros powered via Controller Pi GPIO (USB optional).
- Individual Raspberry Pi Zero power controlled via Controller Pi GPIO (I2C).
- Connector for Controller Serial Console (FTDI Basic).
- Controller Pi can be rebooted without interrupting power to Pi Zeros, network recovers on boot.
Problem(s)
Well, obviously, it’s absurd, so it’s yet another project for me!!
First problem: the Cluster HAT theoretically cannot support Pi Zero 2Ws. At least that’s what you read everywhere (on reseller websites, and what you can deduce from the introduction I included just above). And that’s really unfortunate because that’s the model I have (I have two) and I’d have been bummed to have to buy 4 in version 1.3 just to make sure it works.
Fortunately:
- Several comments found on the net indicate that in reality, it works if the power supply (27w for the official one) of the Pi 5 is powerful enough; moreover, the FAQ says it actually works
- Quentin kindly gave me 2 Pi Zero 1.3s, which completes my collection. I’ll have 2 of each, that should be fine power-wise.
Second problem, finding one (Cluster HAT)! The last version of this product was manufactured several years ago. The official site doesn’t ship to France, the product no longer exists on Kubii.fr. I found a few on The Pi Hut (in the United Kingdom and there are none left today), for about forty euros, shipping included.
Last point, I had to find a Pi 5 at a reasonable price and it hurt to pay €70 for a second-hand Pi 5 with only 4 GB.
So with accessories (SD cards) and the various boards, we’re looking at a side project of about €200.
That’s a bit expensive for an absurd project, but I’m funding it with an article (on another topic) that will be published in a magazine in a few weeks. Those who know, know ;-P.
Hardware Installation
Probably the most fun part when you like (like me) tinkering with computer components and electronic boards.
- Insert the small screws to raise the “Hat”
- Insert the Cluster HAT into the GPIO ports of the Raspberry Pi 5
- Insert the 4 Pi Zeros into the USB ports of the HAT
Power Supply: You must use a sufficiently powerful power supply, ideally the official Pi 5 power supply (27W USB-C). The Cluster HAT draws its energy from the Pi 5 to power the 4 Zeros.
SD Cards: You need 5 MicroSD cards in total (1 for the Pi 5, 4 for the Zeros). The site mentions booting the Pi zeros without MicroSD cards (experimental feature). I might look into it?
OK, that was trivial. But it proves the product is well designed!
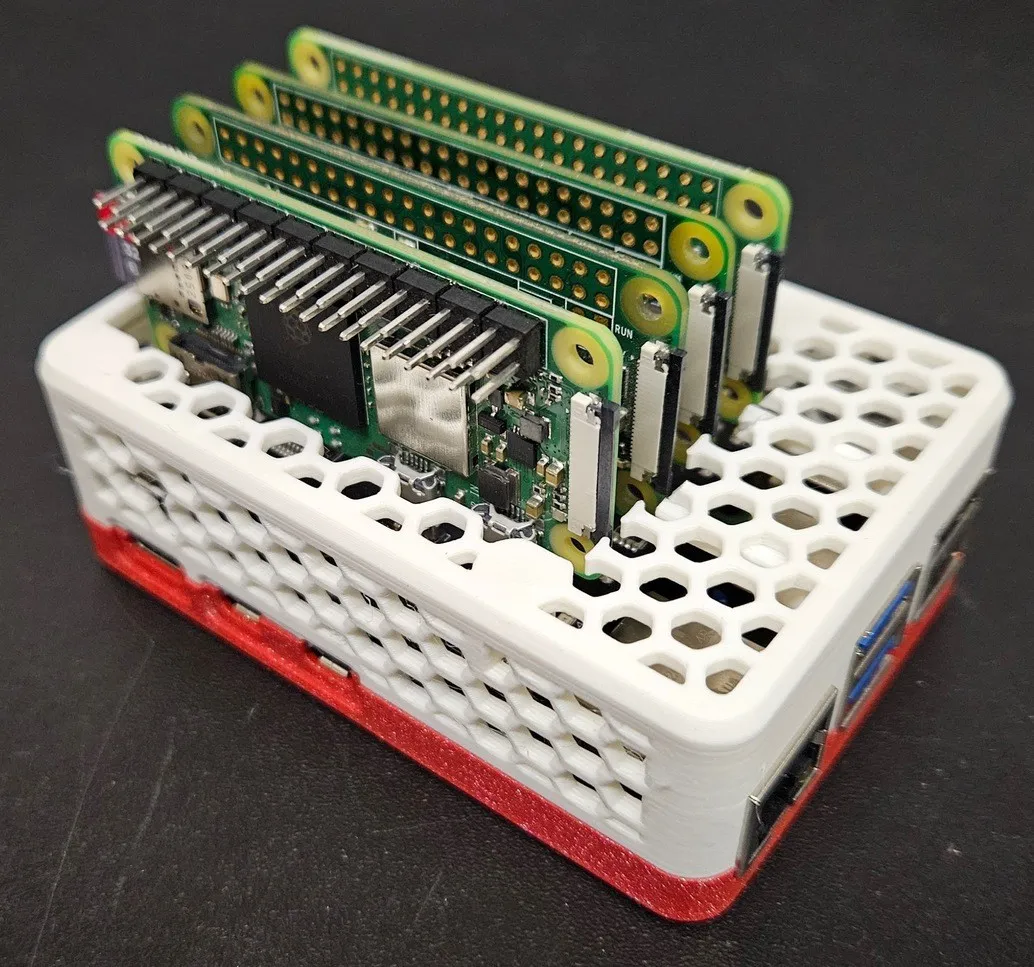
3D Case
Since I have a 3D printer, I modified an existing model for RPis with an “M.2 hat” (another additional board, this one for connecting an M.2 SSD) by making big HOLES everywhere so the Pi zeros could fit.
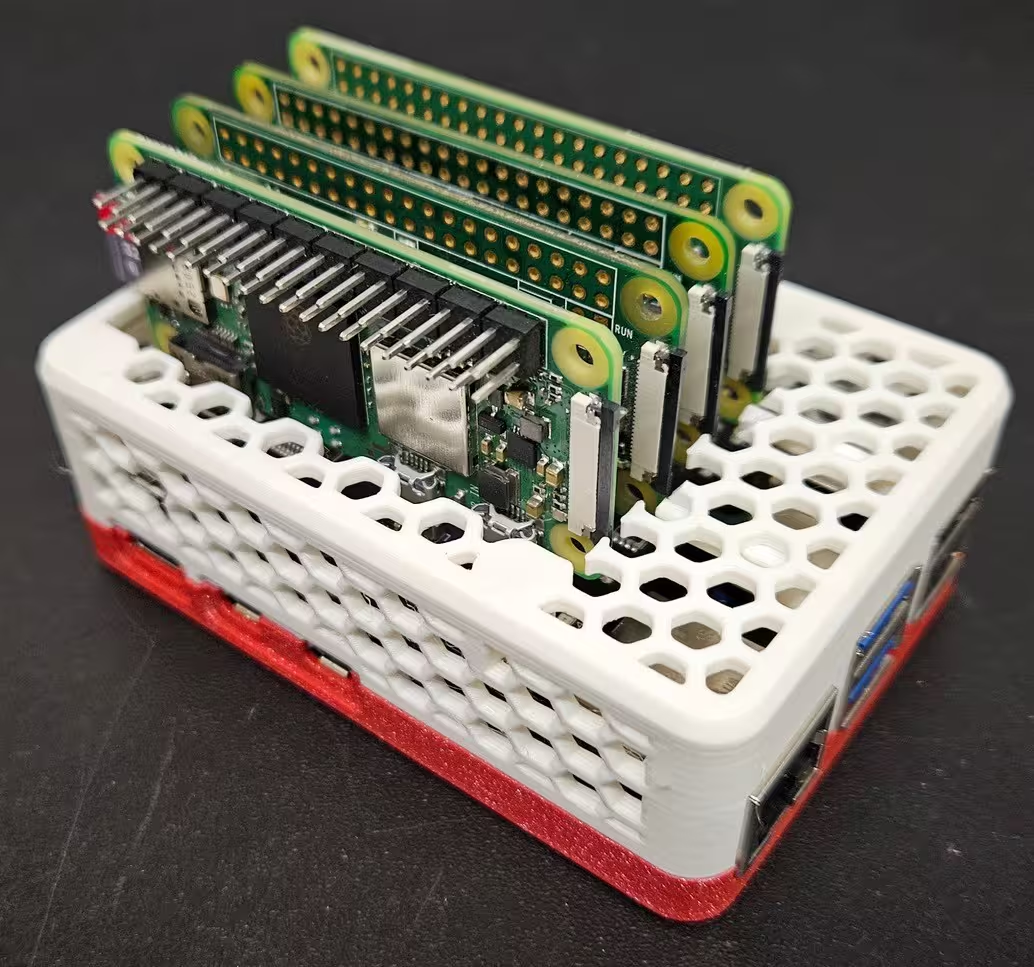
Unfortunately, I cannot share the modified profile because it’s against the 3D file license (Standard Digital File License, which prohibits modifications).
Note: I spent more time looking for models, modifying them, and testing prototypes than actually playing with the cluster hat itself.
Preparing the Installation
The first thing to do to start enjoying this magnificent Raspberry cluster is to install and configure our Pi 5.
Even though it’s theoretically possible to do everything yourself, the cluster hat manufacturer recommends starting with the preconfigured images available on their site 8086.net. The latest version is available for download here:
Looking through the list, we note that there are:
- 6 versions for the “master” RPi (Bookworm lite, normal and full, with CNAT or CBRIDGE mode for each)
- preconfigured Rpi OS lite images for the Pi Zeros (called Px, x being the position on the cluster hat), also with CBRIDGE / CNAT variants, armhf (32-bit) and arm64
Out of laziness, I just plugged in the Pi 5, I don’t have an Ethernet cable within reach. In this case, if like me you connect your Pi via WiFi, you need to go with CNAT mode (NATed). On the contrary, CBRIDGE mode (bridged, which requires the Ethernet port) means you’ll see all 5 machines on your LAN directly.
Second piece of info (reminder), in my case, I have a mix of 32 and 64-bit machines, so I need to be careful to select the right OS for the right machines.
Installing the Raspberry Pi 5 (Our Controller)
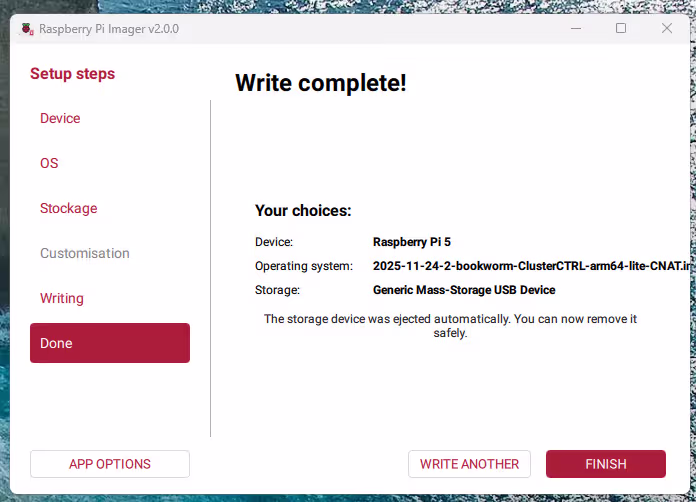
For the Raspberry Pi 5, in my case the file is 2025-11-24-2-bookworm-ClusterCTRL-arm64-lite-CNAT.img.xz
wget https://dist1.8086.net/clusterctrl/bookworm/2025-11-24/2025-11-24-2-bookworm-ClusterCTRL-arm64-lite-CNAT.img.xz
The Headless Mode Problem
Even though it’s possible, I don’t want to connect the Pi to a monitor (having to get out a keyboard and a monitor… exhausting) so I’m going to do everything in headless mode. And unfortunately, the latest versions of Raspberry Pi Imager (2.0.0) don’t allow (anymore?) customization of third-party OSes.
In theory, once the image is flashed to the microSD, you’ll need to manually configure:
- WiFi
- a basic user
- enable SSH
I tried, it failed, despite a wpa_supplicant.conf file, a properly formatted userconf.txt, and an empty ssh file.

The Solution: Raspberry Pi Imager 1.9.6
After getting quite frustrated, I simply went back to the previous version of the imager (1.9.6) which works very well with the image provided by 8086.net.
Note: however, for installing recent RPi OS versions, I had quite a few failures. So use sparingly.
Installing the 4 Raspberry Pi Zeros (The Nodes)
Here, it’s a bit simpler on the network side, because in CNAT mode, the Pi Zeros will communicate via the USB cable of the Cluster HAT. BUT you need to pay attention to the 32 vs 64-bit architecture issues, in my somewhat hybrid case:
- P1 (a Pi Zero 2):
...arm64-lite-CNAT-p1.img.xz - P2 (a Pi Zero 1.3):
...armhf-lite-CNAT-p2.img.xz - P3 (a Pi Zero 1.3):
...armhf-lite-CNAT-p3.img.xz - P4 (a Pi Zero 2):
...arm64-lite-CNAT-p4.img.xz
For customization, we leave SSH and the user/password, but no need to set up WiFi. We could also modify the boot parameters to remove the Bluetooth and WiFi kernel modules to save a few MB of RAM.
Boot Up
Once everything is ready and the RPi 5 is working, you can log in via SSH and run the command:
sudo clusterctrl on
From there, the cluster hat LEDs should start blinking, and the RPi Zeros should gradually turn on. It looks a bit like Christmas lights but I like it.
If you only want to turn on some of them, it’s possible with these commands:
sudo clusterctrl on p1           # to turn on only p1
sudo clusterctrl off p2 p3 p4    # to turn off p2, p3 and p4
Network Configuration
In NAT mode, the IP addresses of the Pi Zeros are assigned as follows:
- on the RPi 5 side (the controller) we have a bridge
br0with address172.19.181.254/24 - on the Pi Zero side,
172.19.181.xwith x ranging from 1 to 4
It’s as simple as that. From the controller, we can try to log in via SSH:
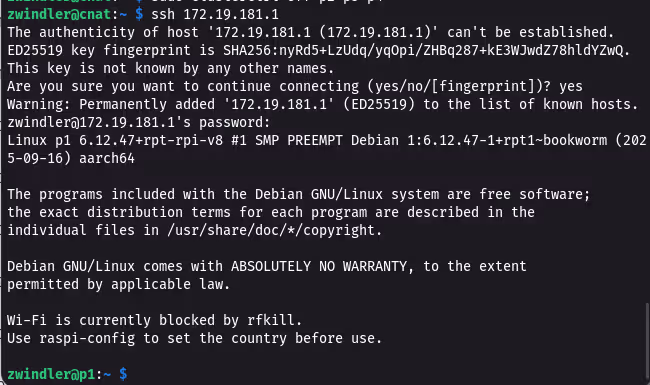
Even though p1 is NATed, the NAT works since we have Internet access:
zwindler@p1:~ $ ping 8.8.8.8
PING 8.8.8.8 (8.8.8.8) 56(84) bytes of data.
64 bytes from 8.8.8.8: icmp_seq=1 ttl=115 time=12.5 ms
64 bytes from 8.8.8.8: icmp_seq=2 ttl=115 time=17.1 ms
Conclusion
I lost quite a bit of time flashing images until I found the right way to have both the cluster HAT custom ROM and the OS customizations to run headless.
But once I had that, it was relatively trivial to get this little cluster working.
Now, all that’s left is to find what I’m going to run on it ;) I’m opening the bets!